This post departs from my usual tech topics, but it’s still about one of my core values: improving my skills and learning new things. While I’ve been passionate about computing since age 8, I’ve always enjoyed working with my hands—whether it’s gardening or building something from scratch. Woodworking has long fascinated me, and I’ve deeply admired skilled carpenters and furniture makers.
The difficult global context these past months (COVID) pushed me to take on a new challenge: building my own large oak piece of furniture for the living room. Not only would it hold decorative items and books, but it could later also support a heavy, self-built marine aquarium. Here, I’ll share this journey—including both the finished result and the many hours of making, mistakes, and learning along the way.
If you’re short on time, let’s start with the final result (which I’m really proud of!) before diving into the build process step by step.
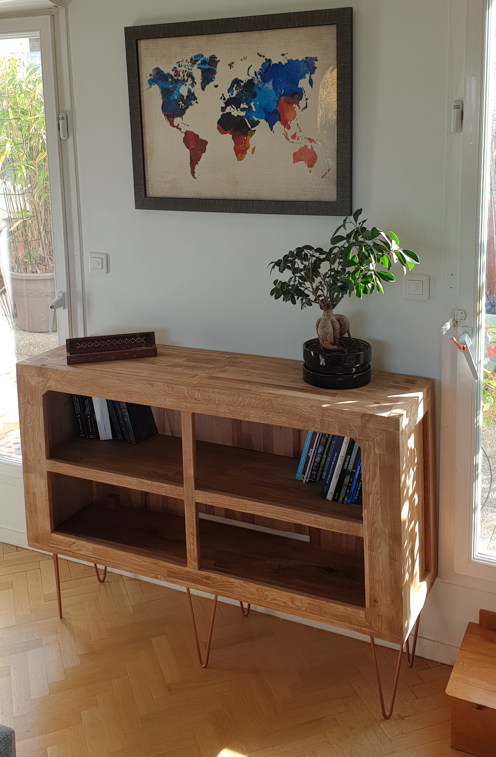
The result
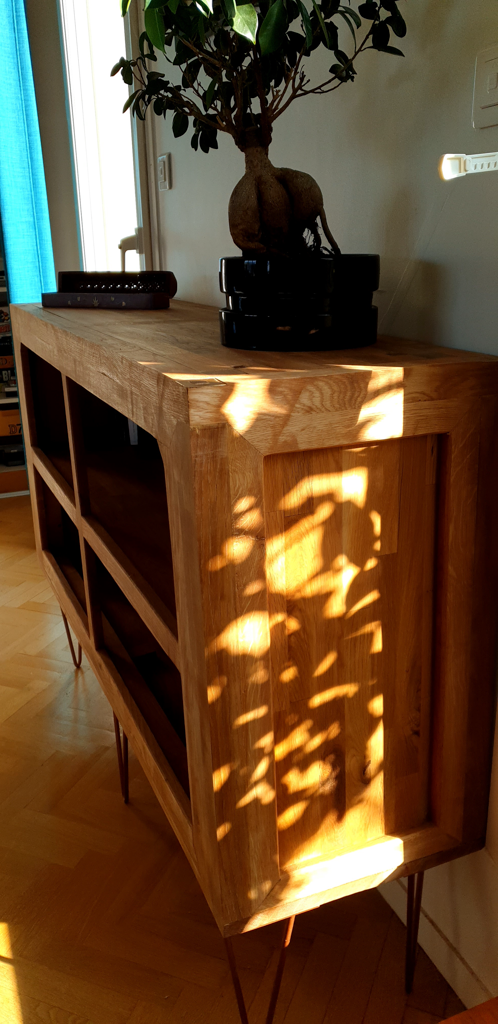
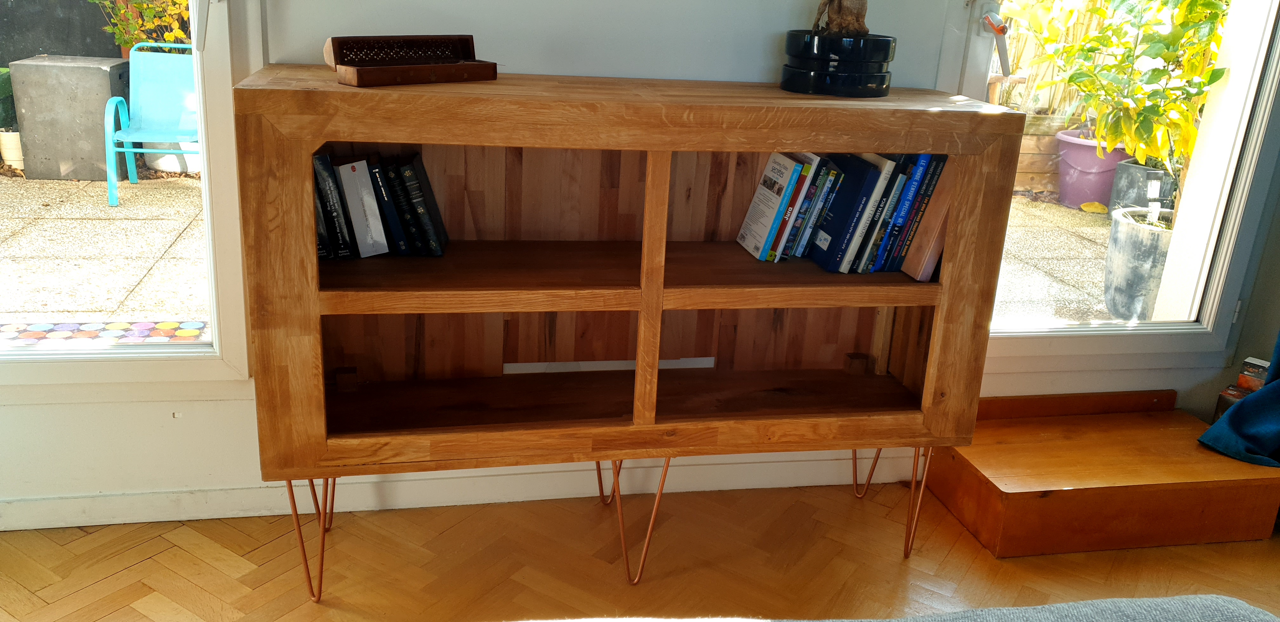
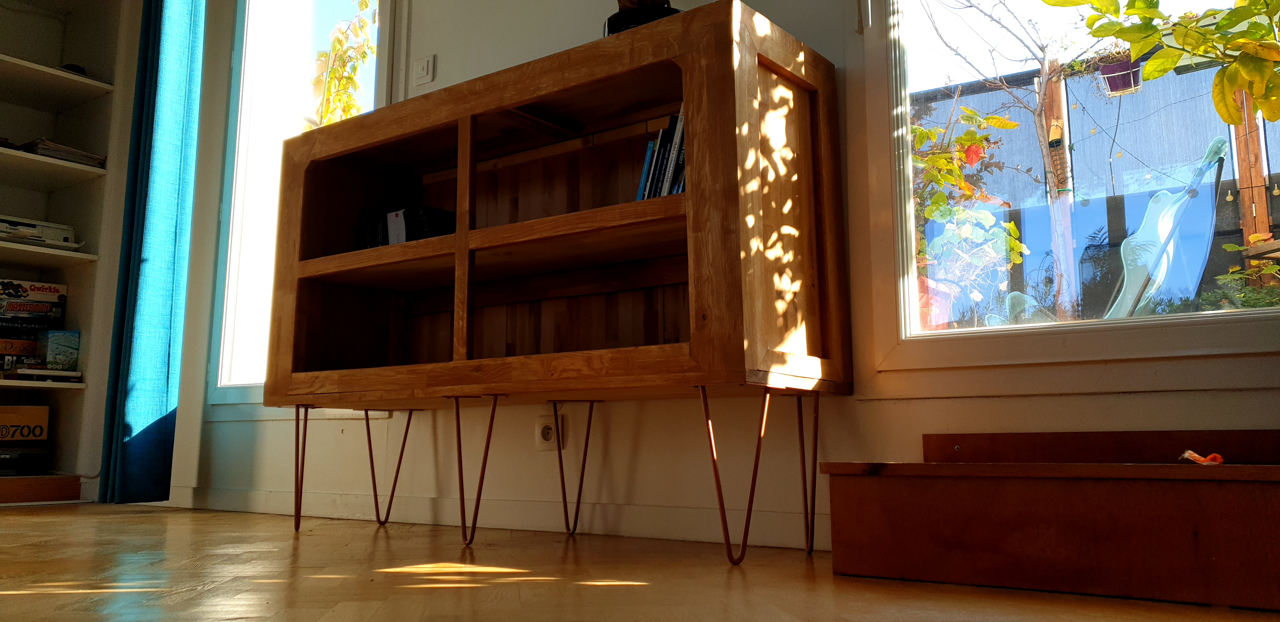
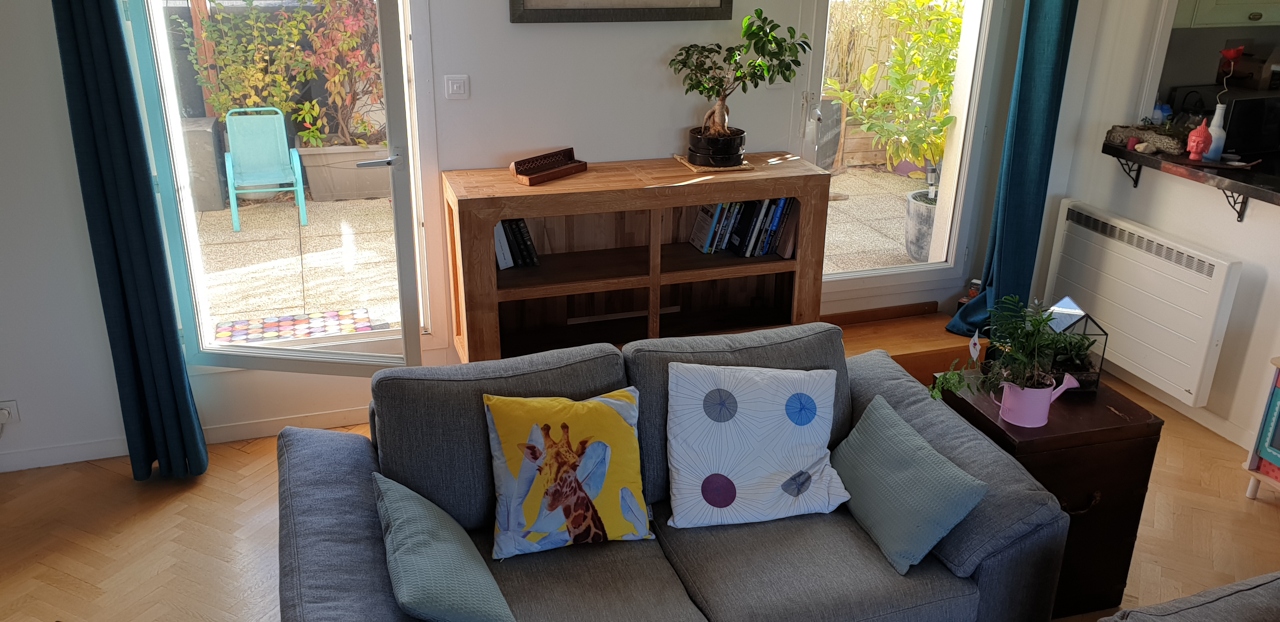
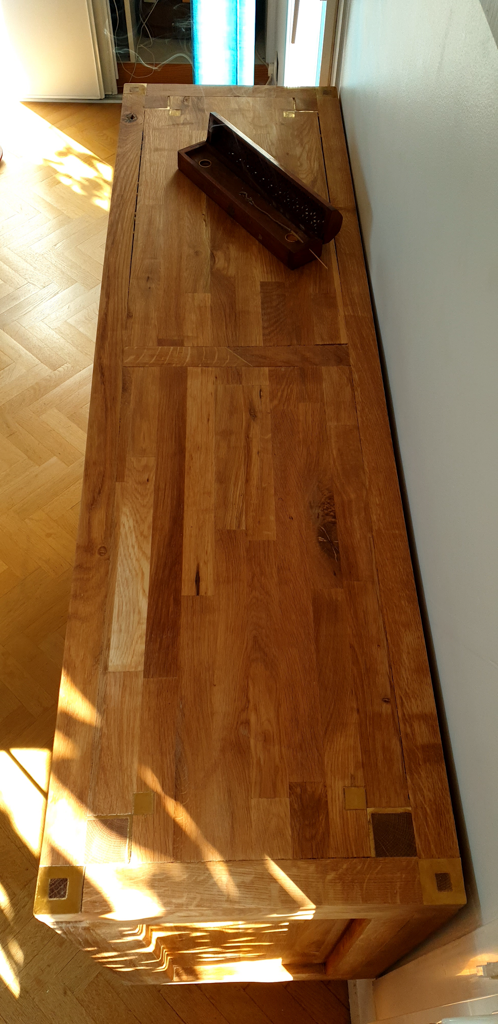
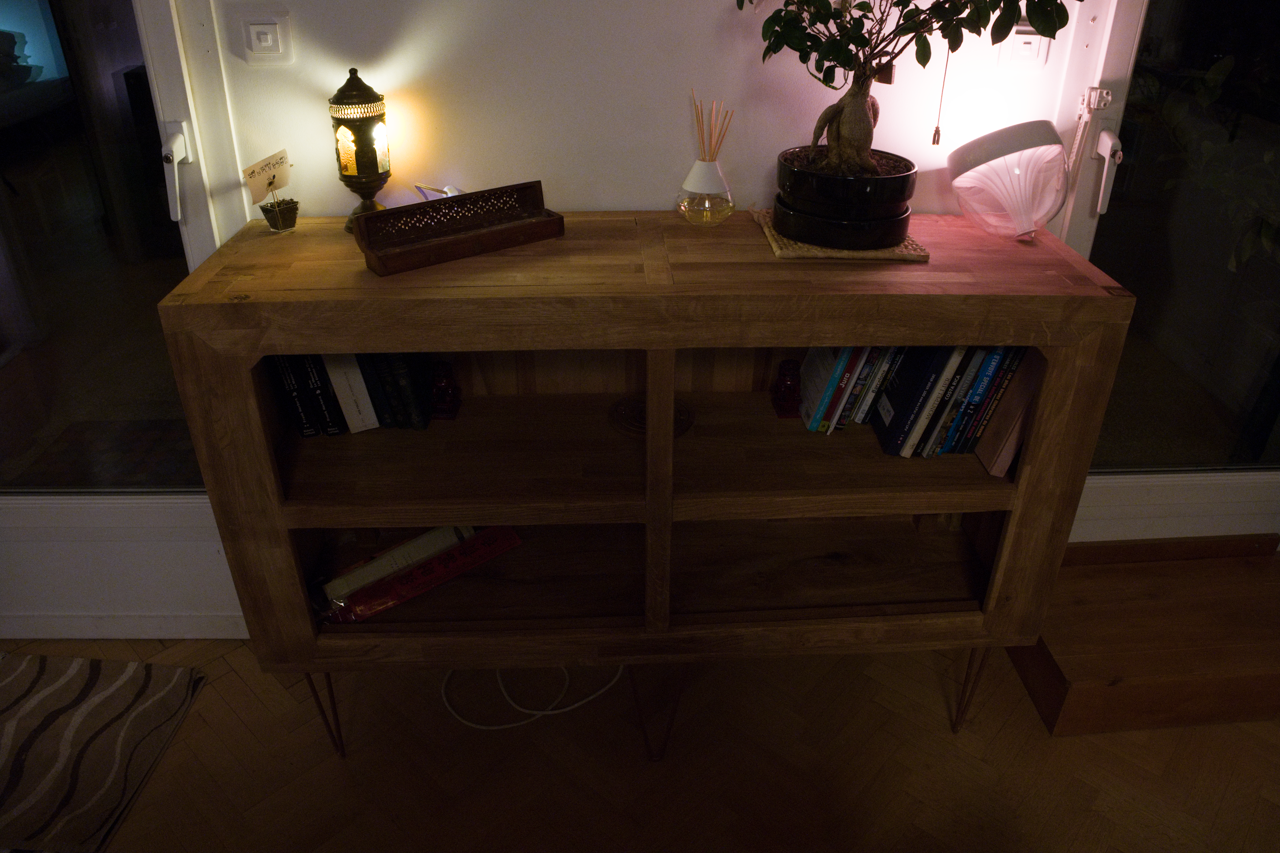
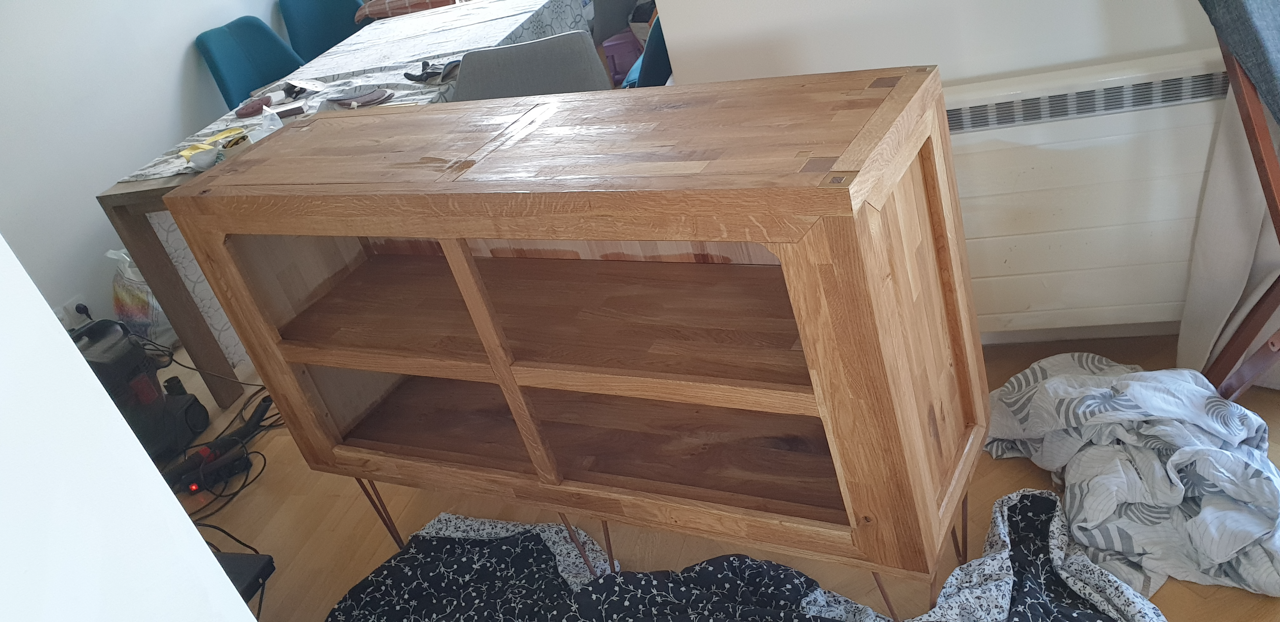
Here it is: a massive, solid oak piece of furniture with three tiers and discreet brass inlays on the top shelf. It’s seriously heavy—about 70kg—so it can eventually support a large marine aquarium.
The gap at the bottom back is intentional. It allows for easy routing of water lines and power cables required for the upcoming aquarium and various equipment.
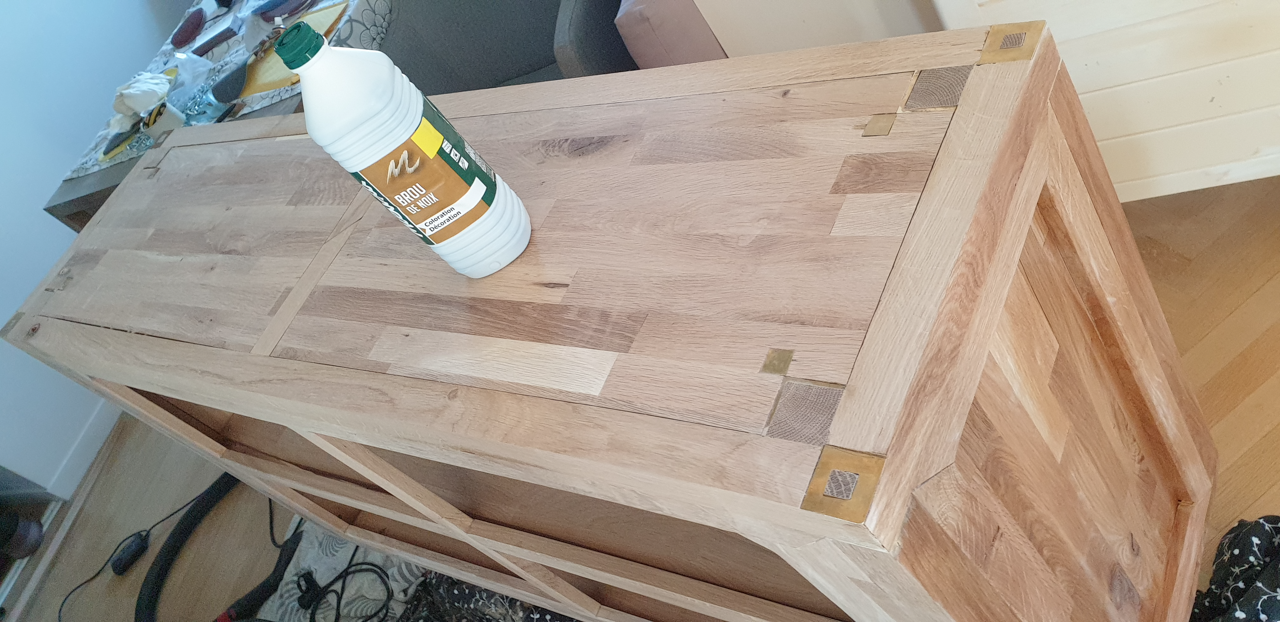
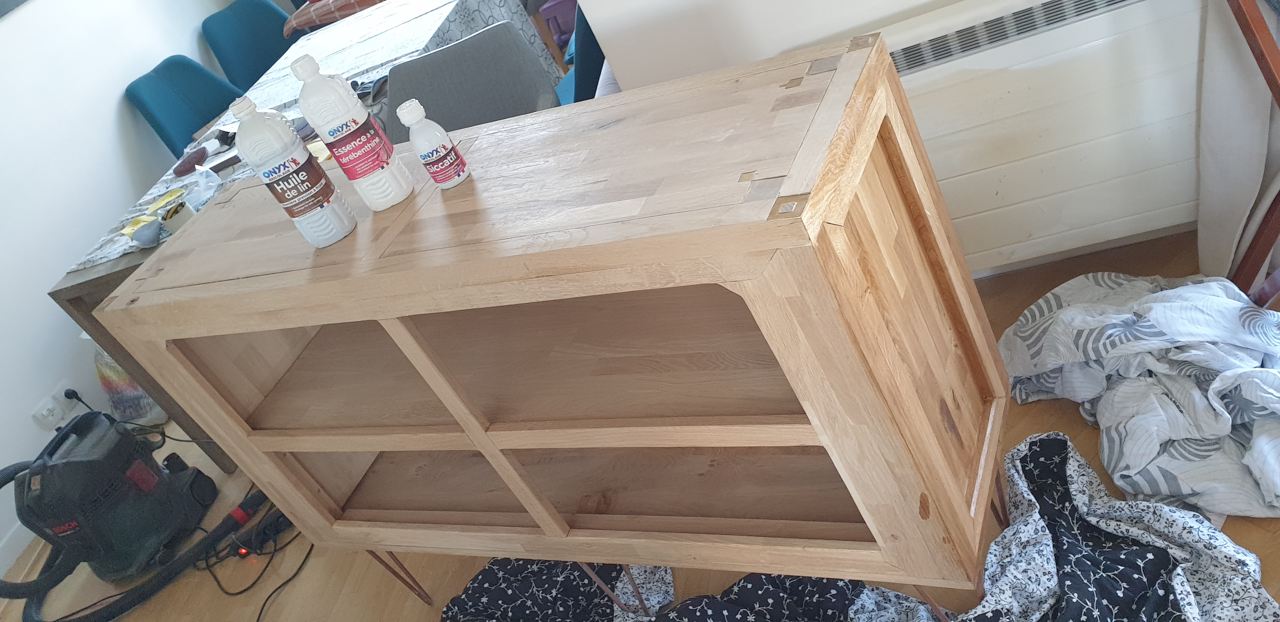
Building the main piece took countless hours—blood, sweat, and plenty of mistakes—but it was totally worth it. The finishing process was also demanding, especially all the repeated sanding. When raw, the oak was actually much lighter than it appears in the photos. I first applied a walnut stain (“brou de noix” in French) to subtly tint the wood, sanded it again, and then protected the entire surface with linseed oil (“huile de lin”) mixed with turpentine (“essence de térébenthine”), followed by more sanding. Over the next few weeks or months, the wood will gradually lighten again as it settles.


The making of
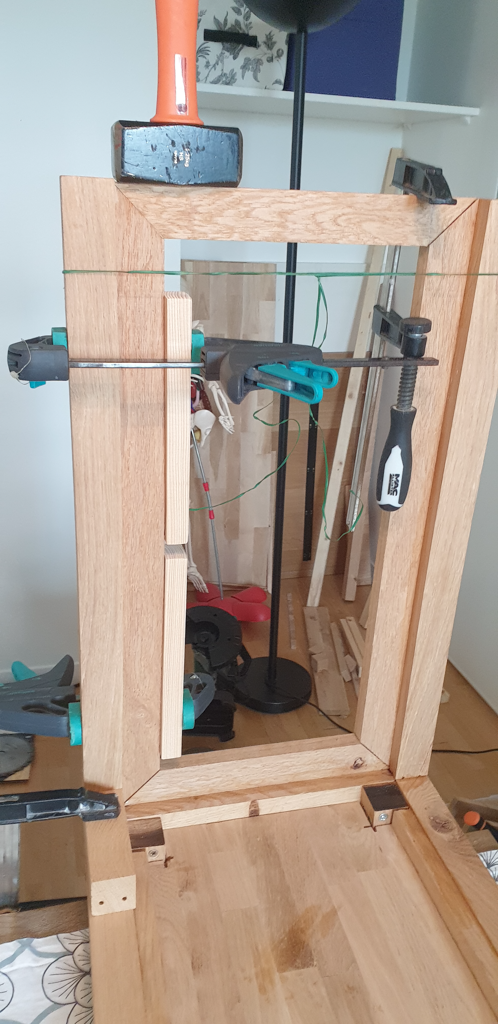
I won’t go into every detail here—hopefully, the pictures speak for themselves. I started by building the top frame (unfortunately, I missed taking a few photos of this step).

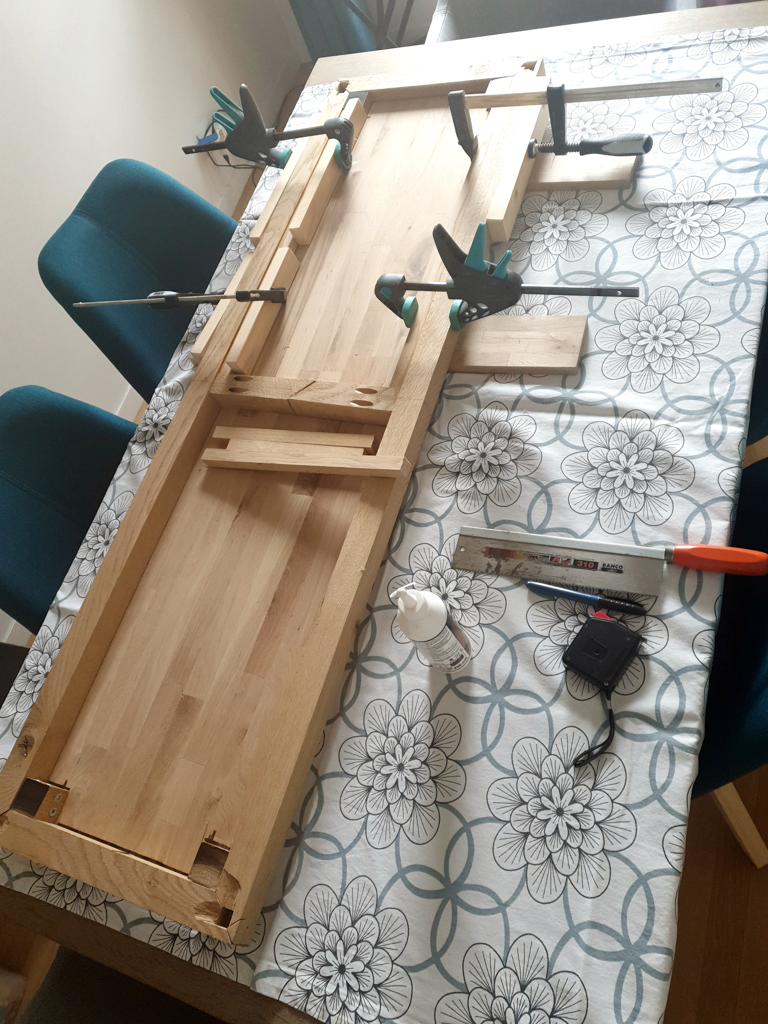
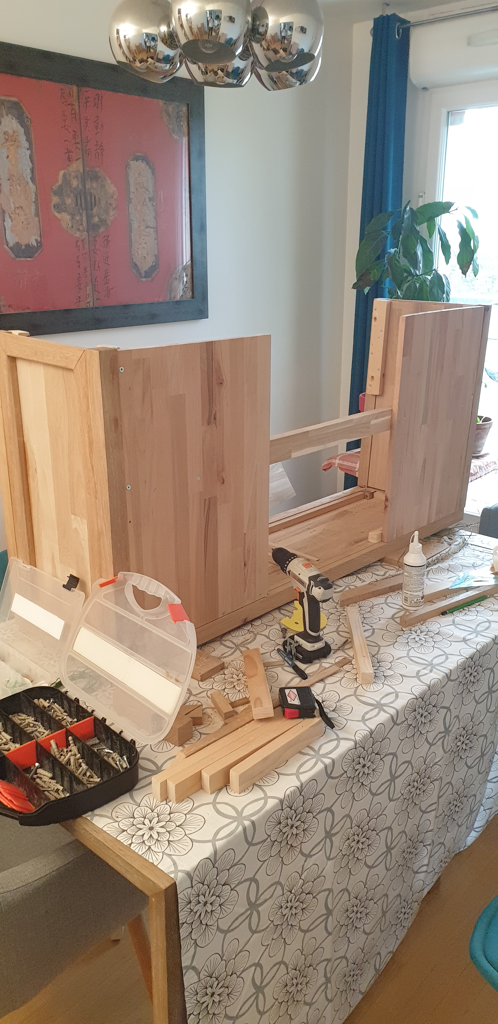
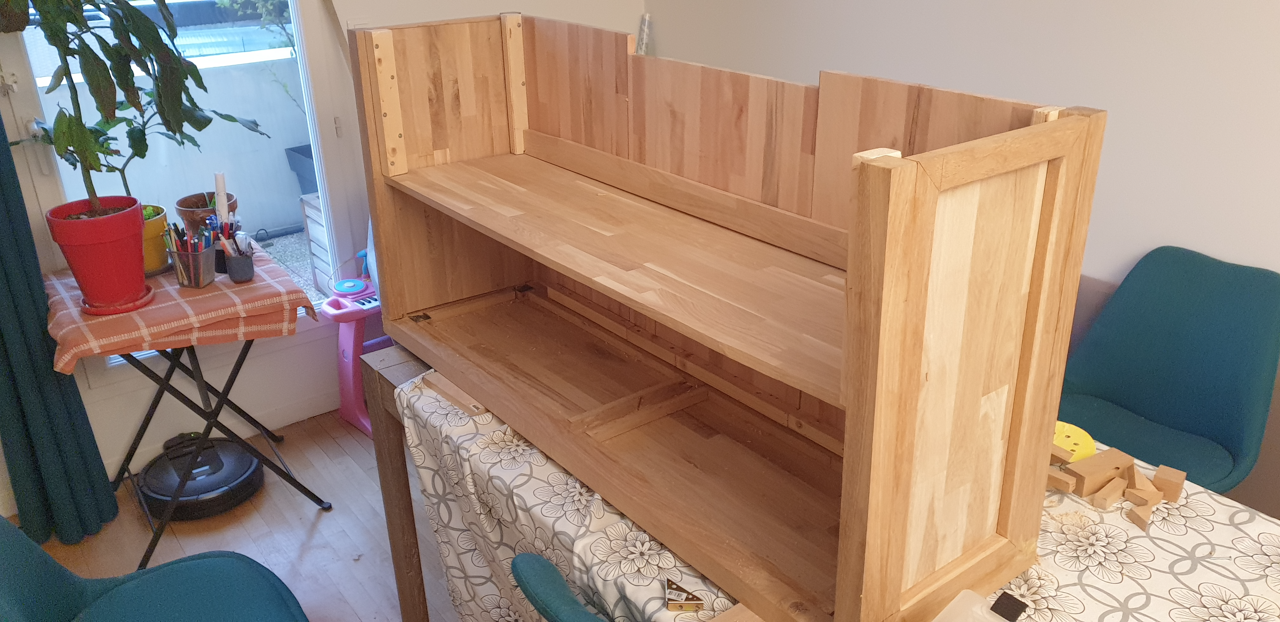
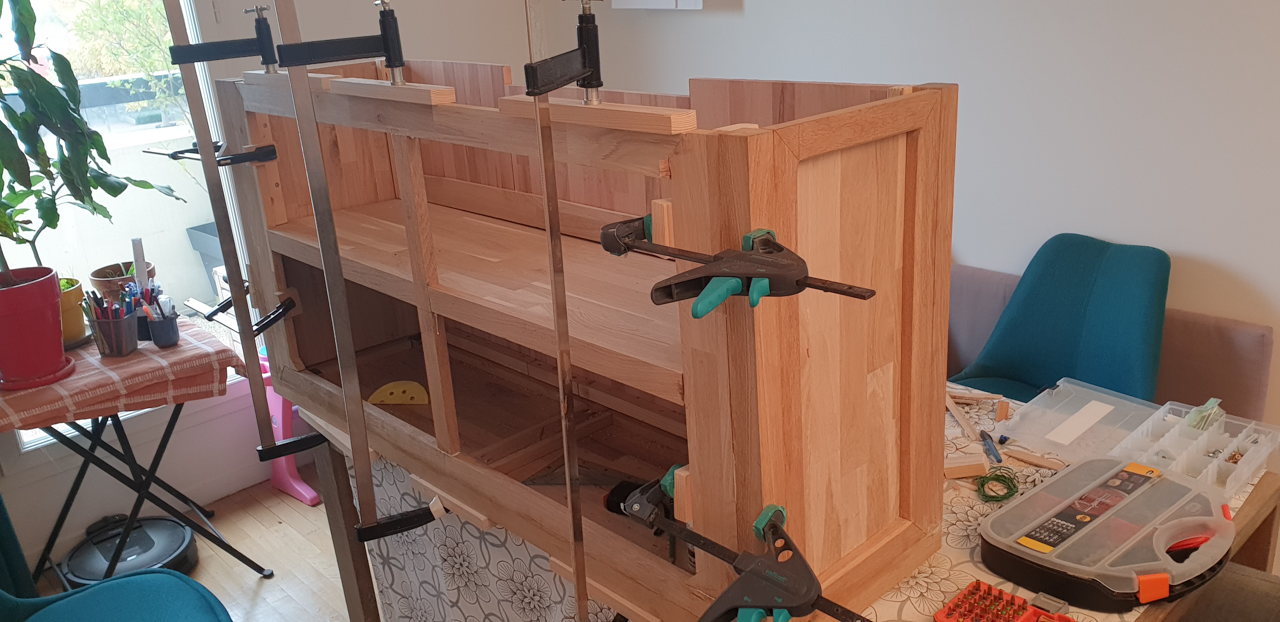
Then the main structure was globally assembled.


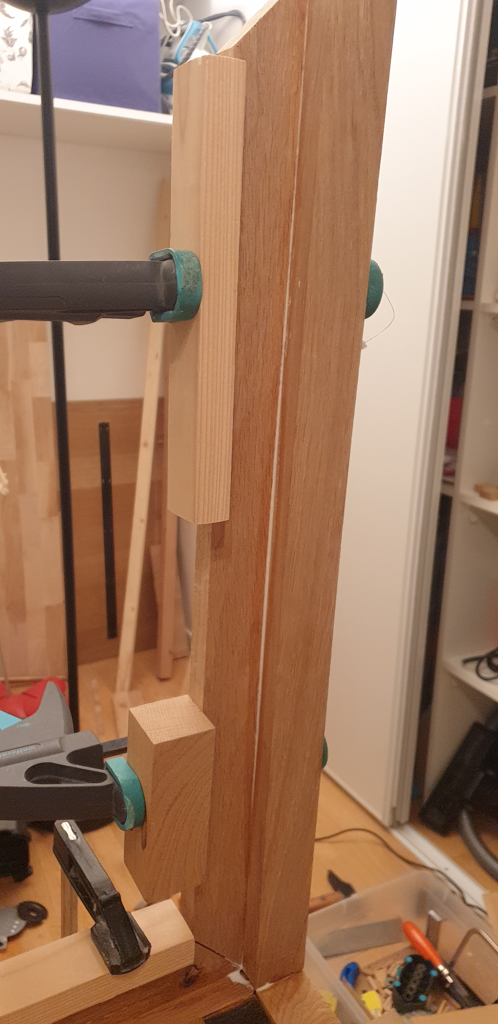
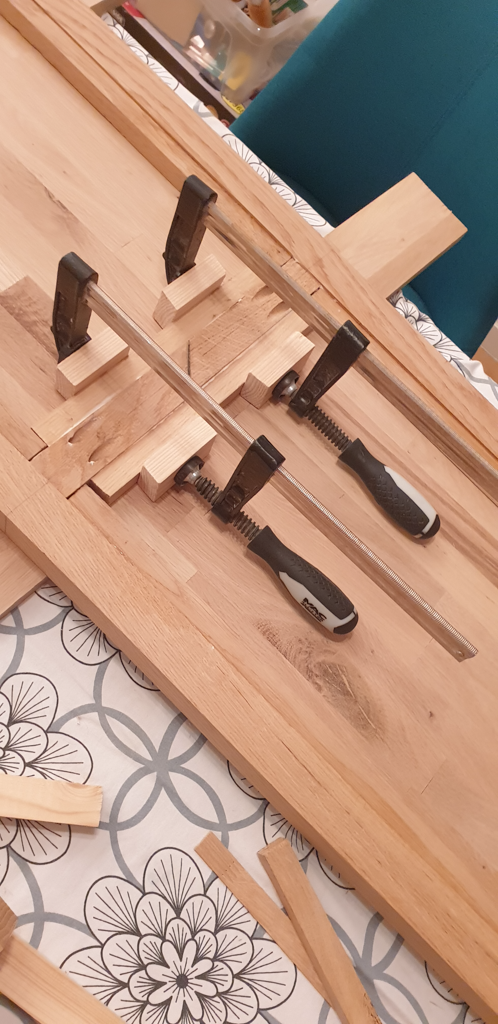


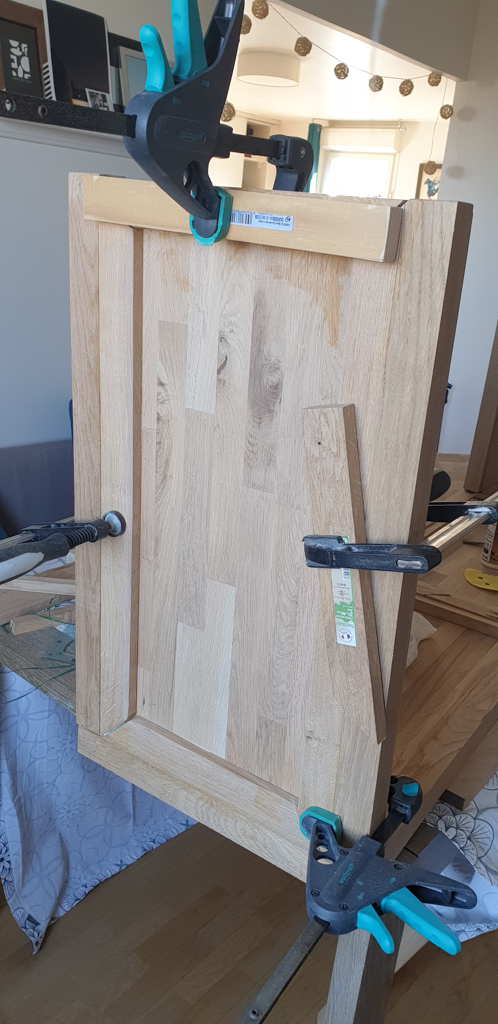
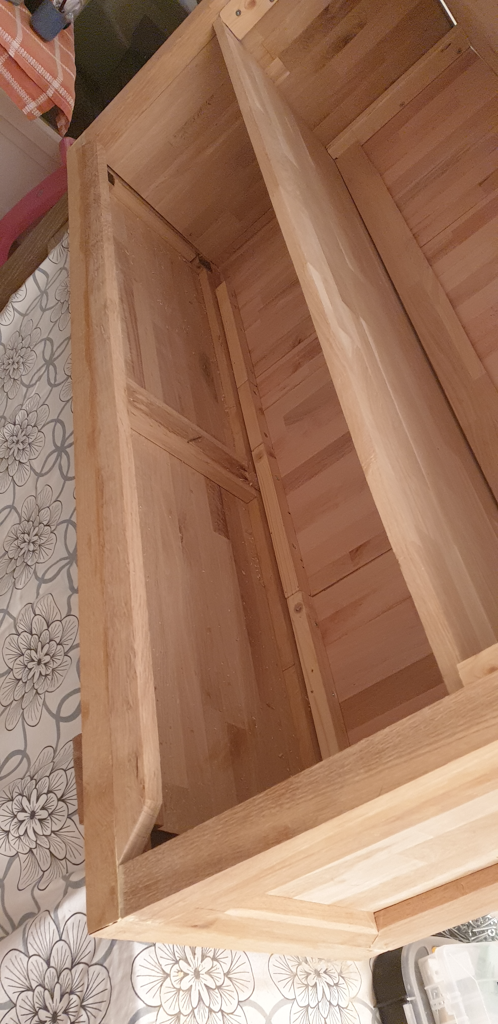
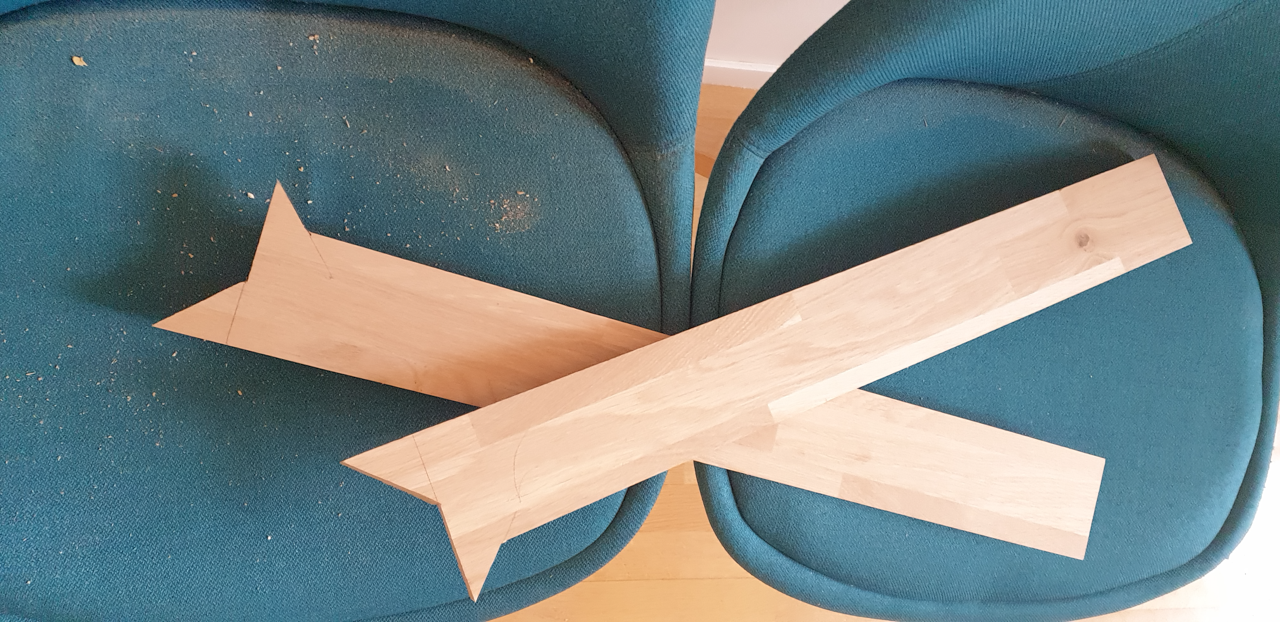
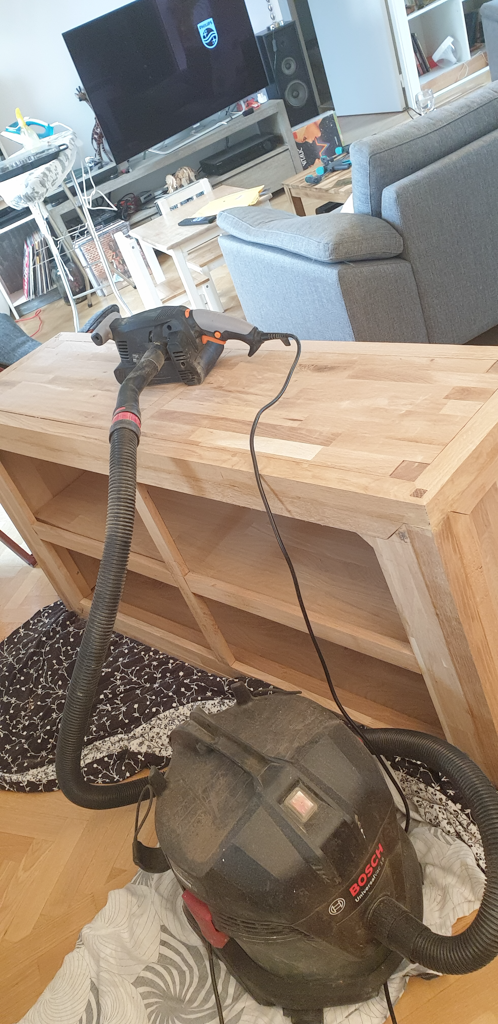
Then the side panels … They required a LOT of work …
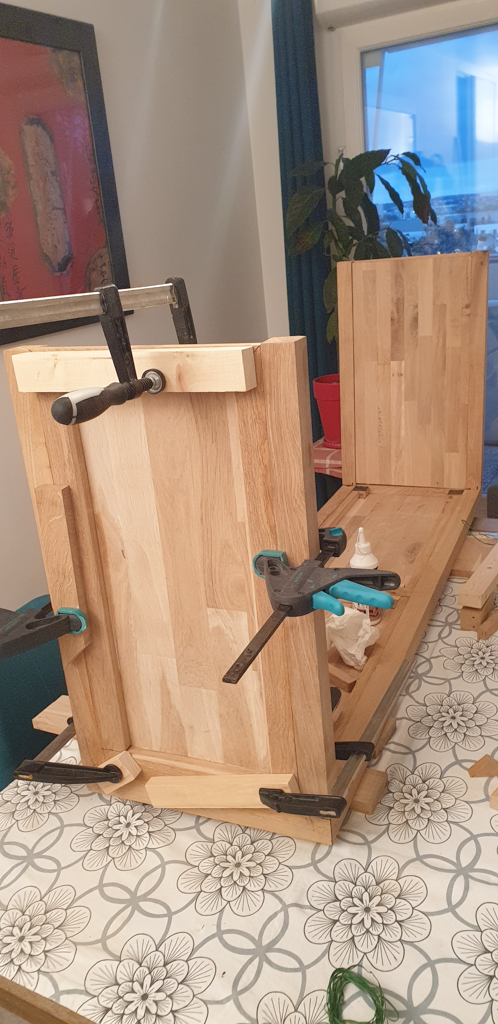


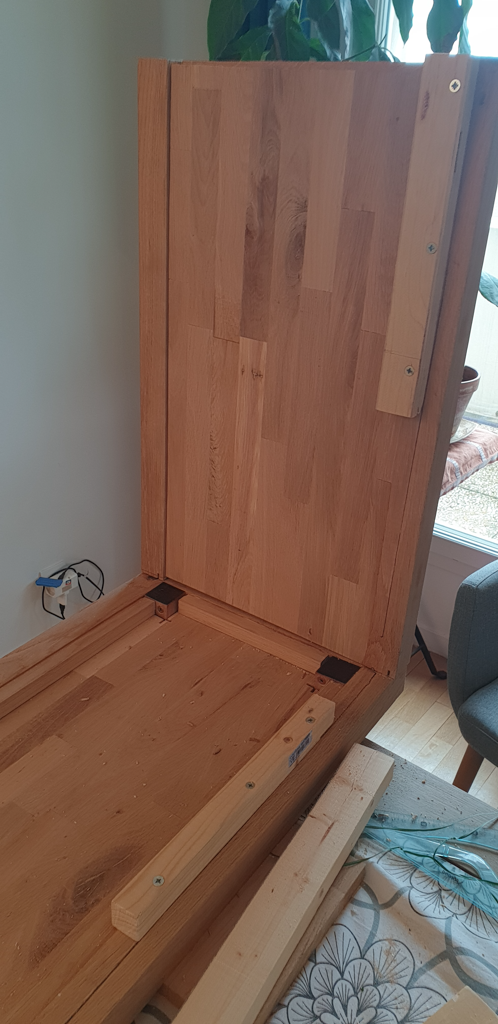
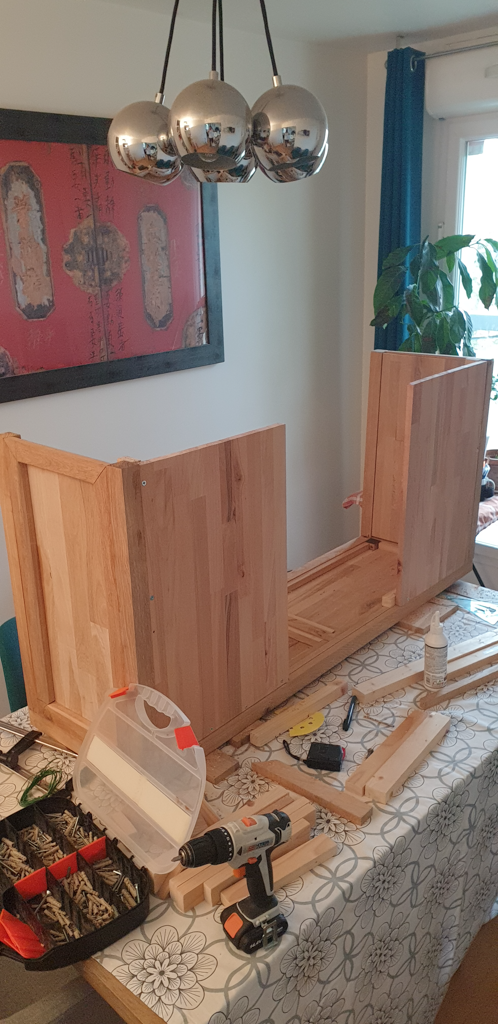
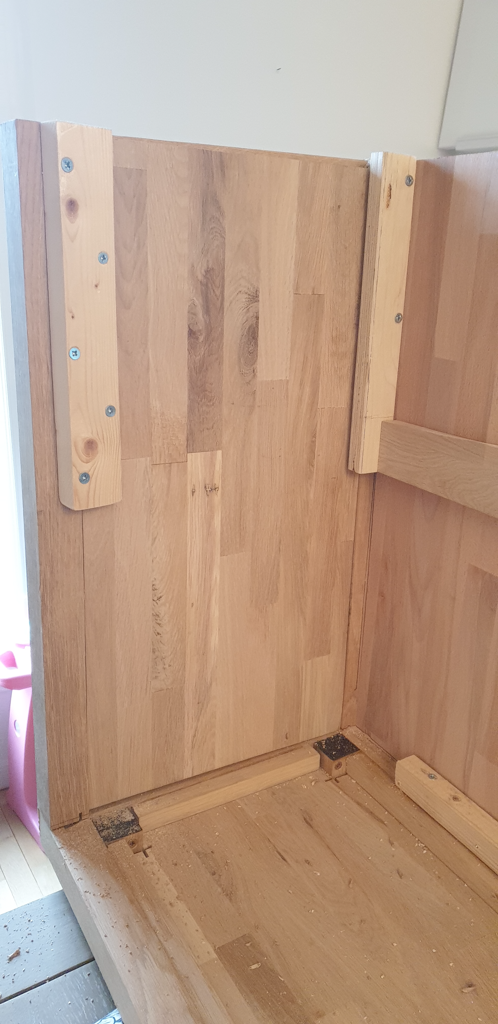
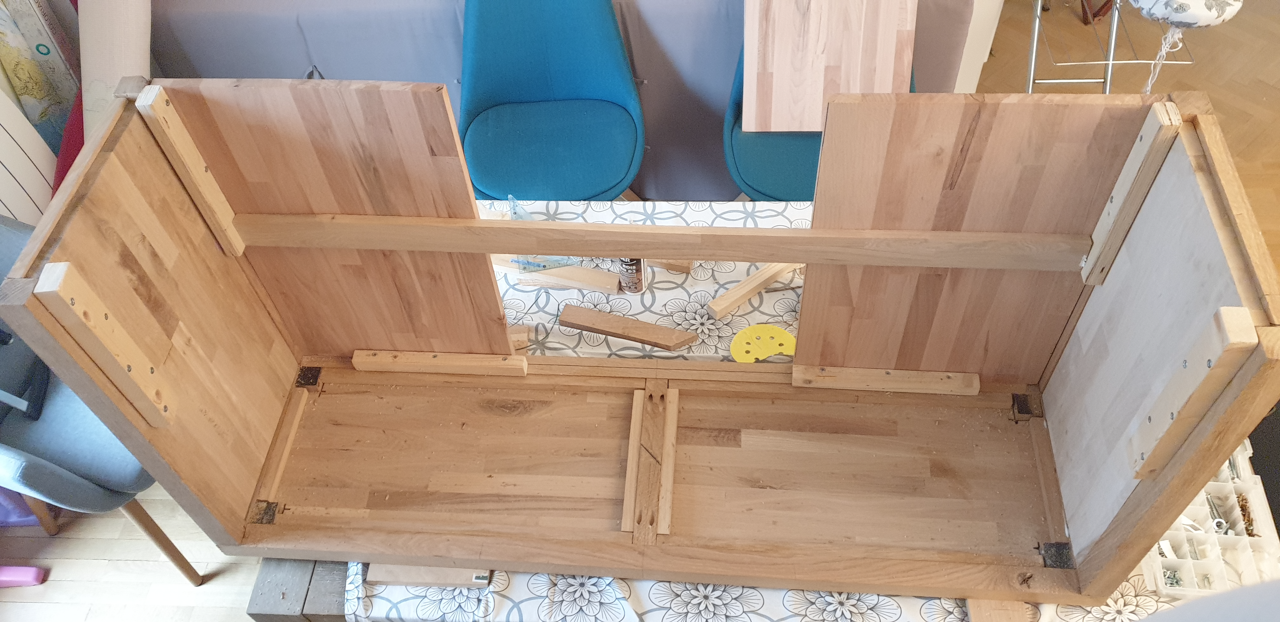
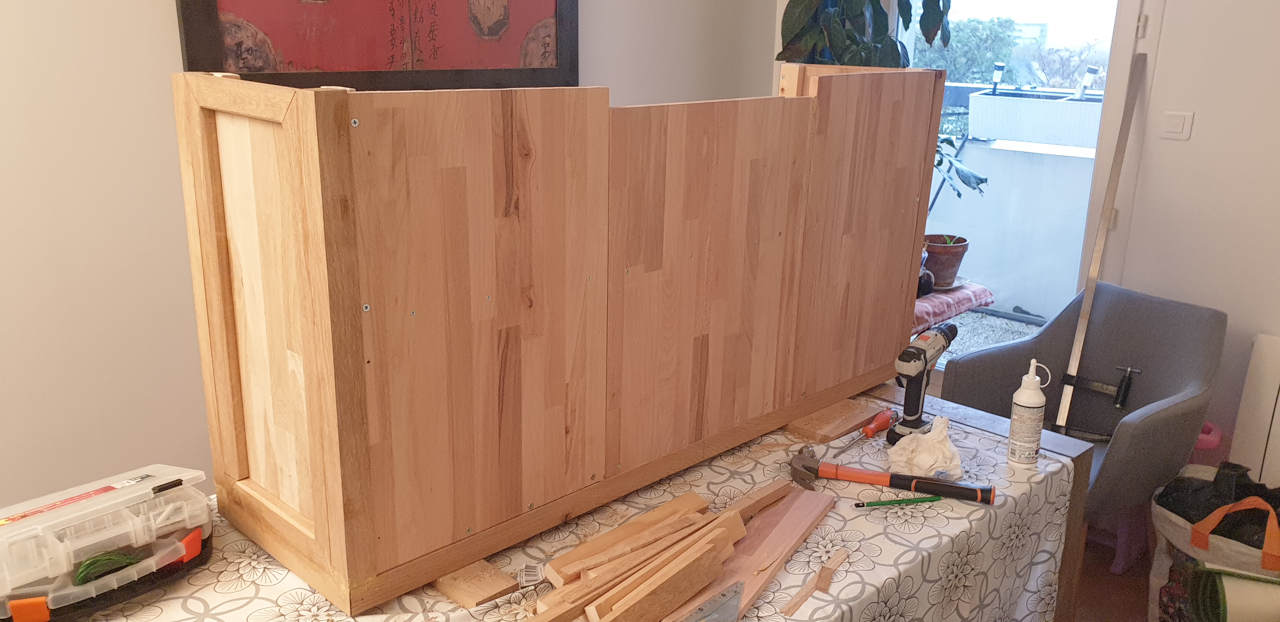
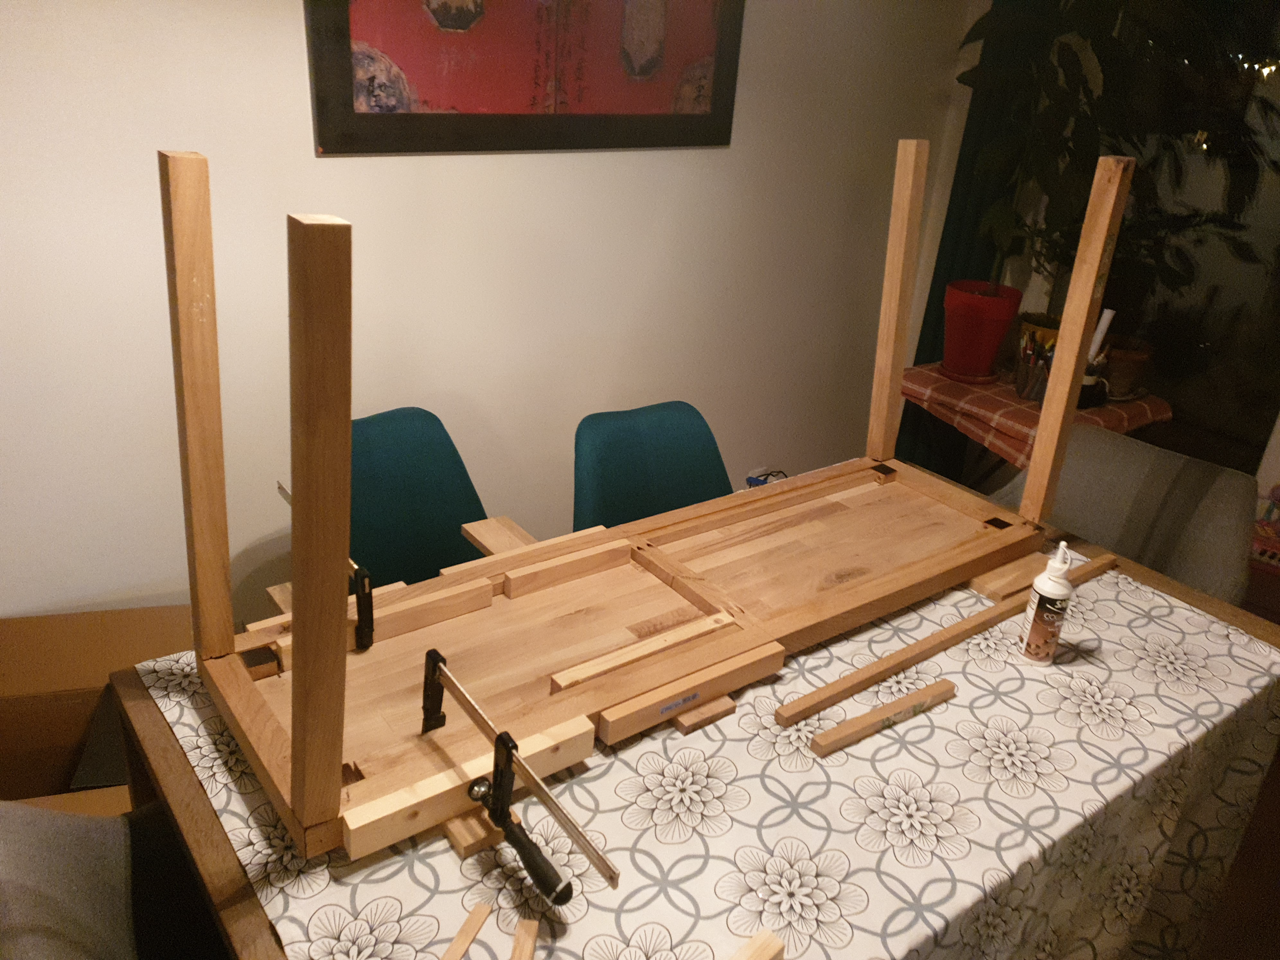
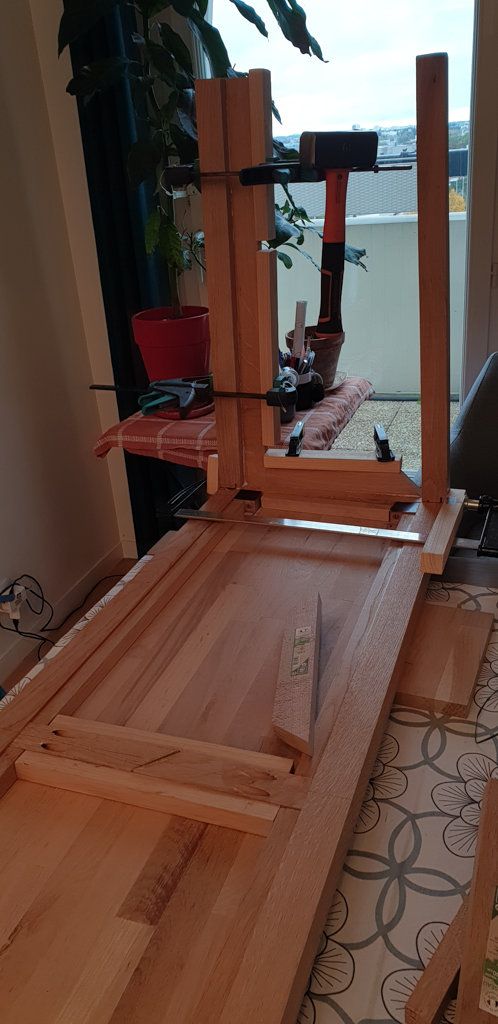
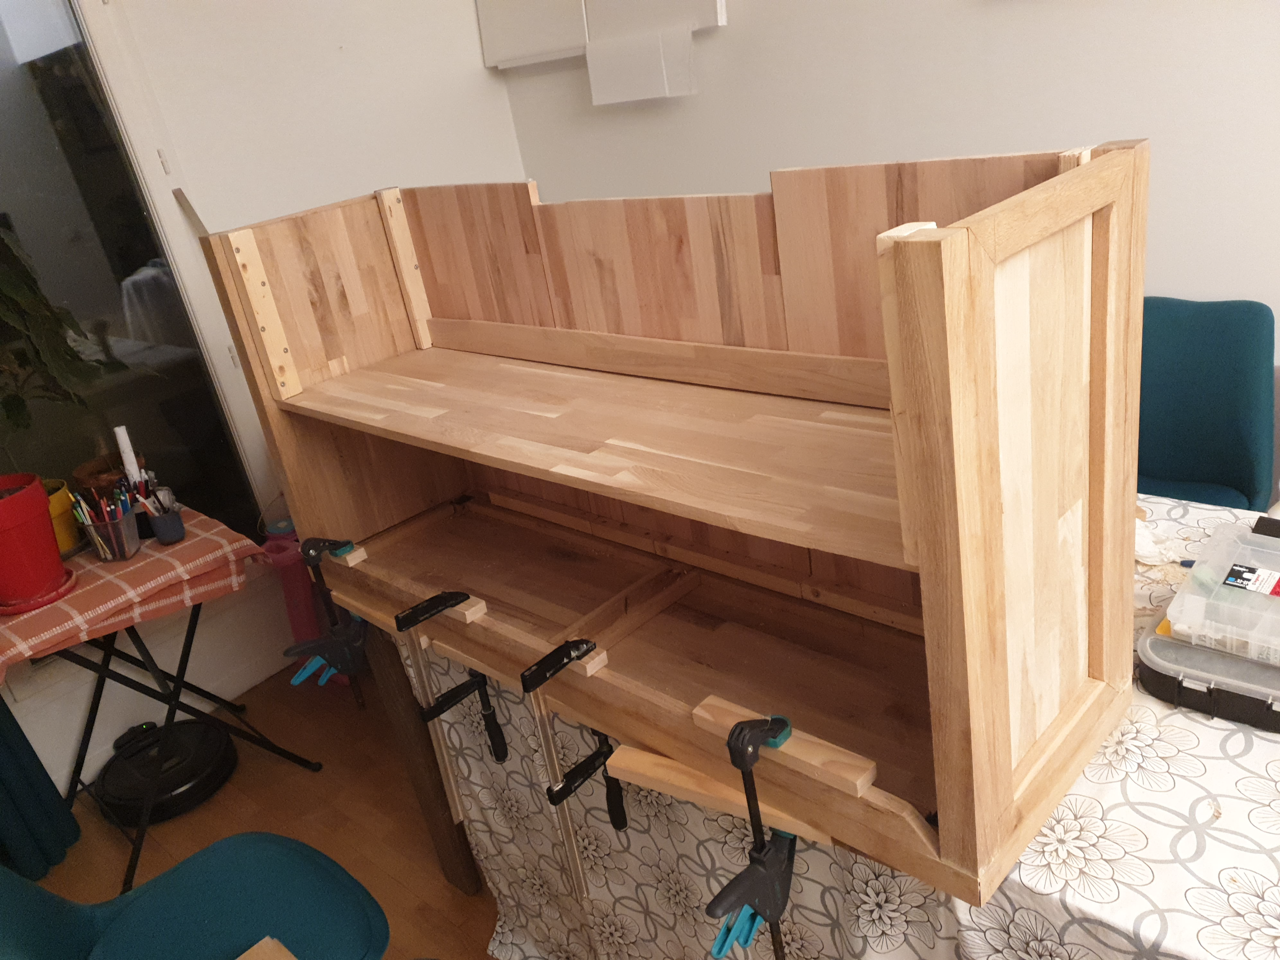
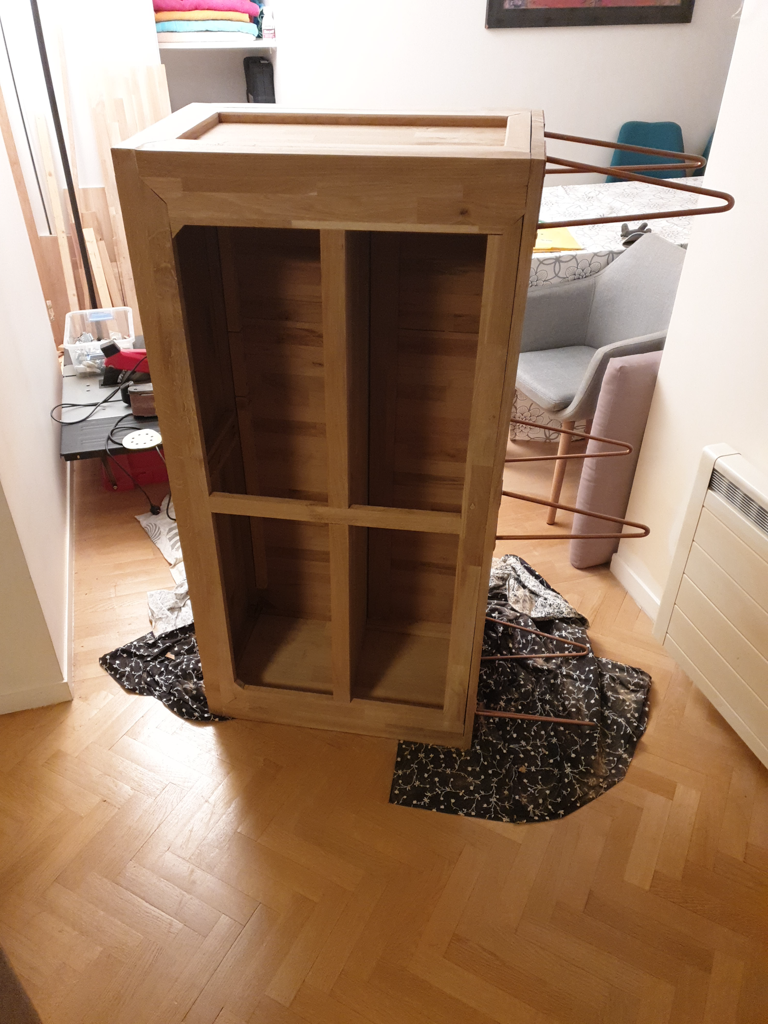
Then I added the second tier of the furniture and completed the back, front, and lower panels.


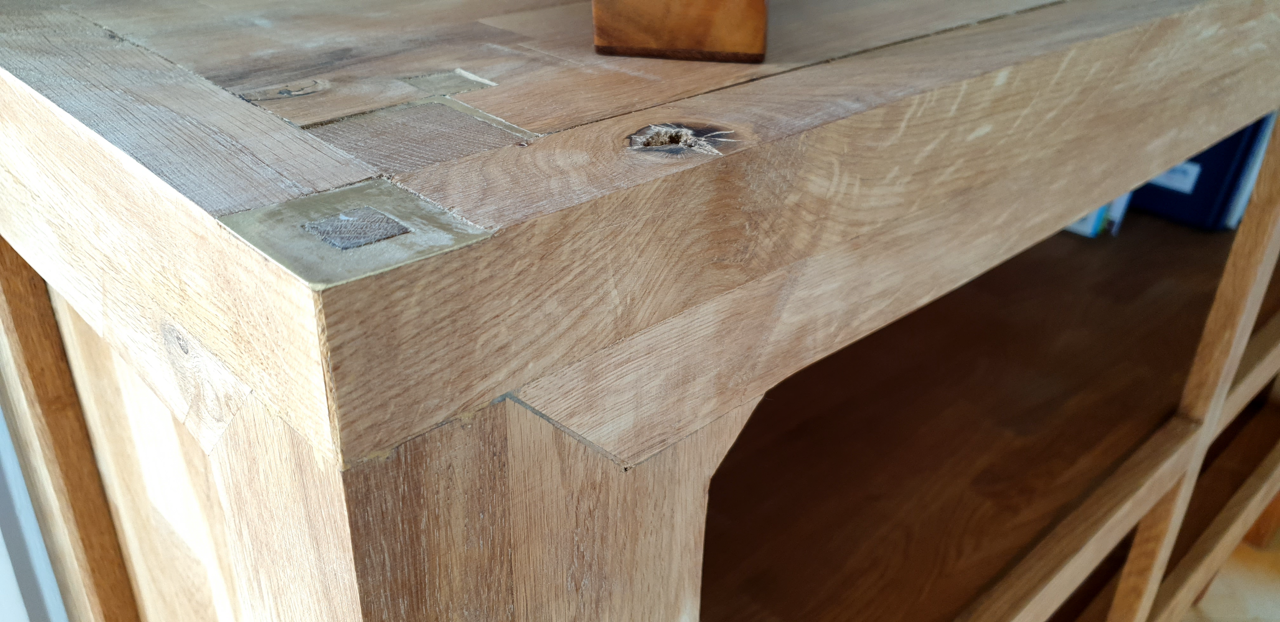
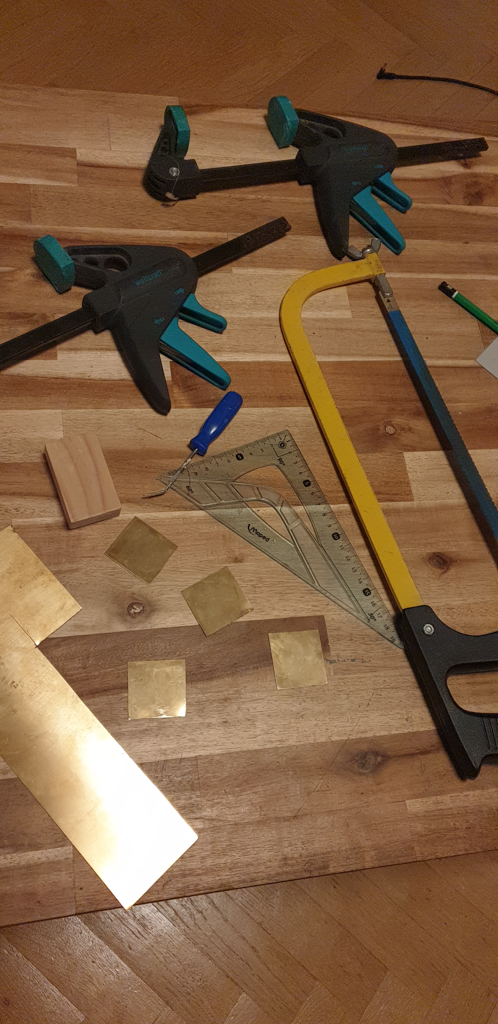
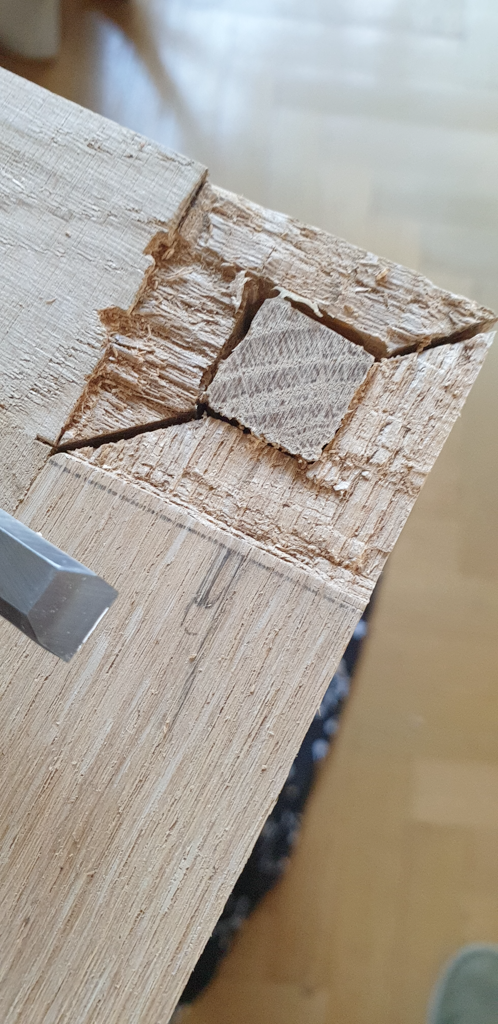
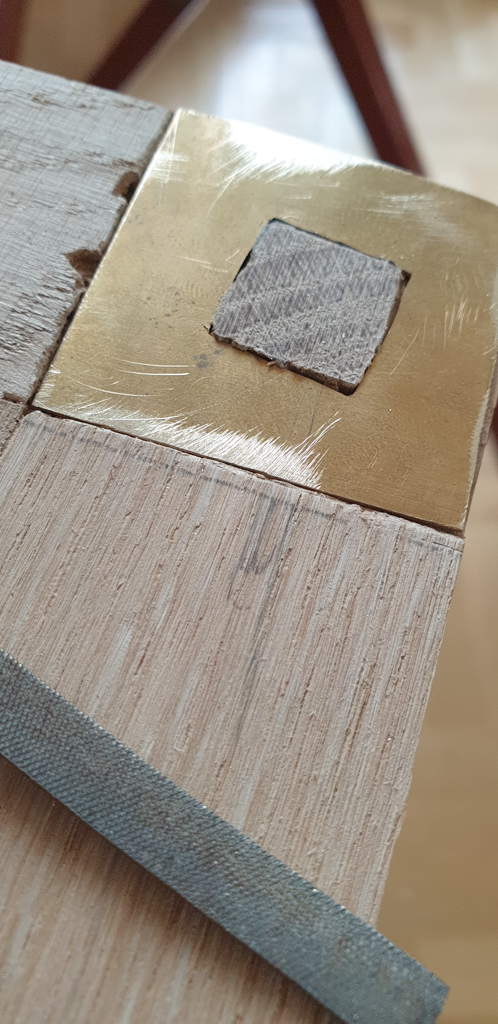
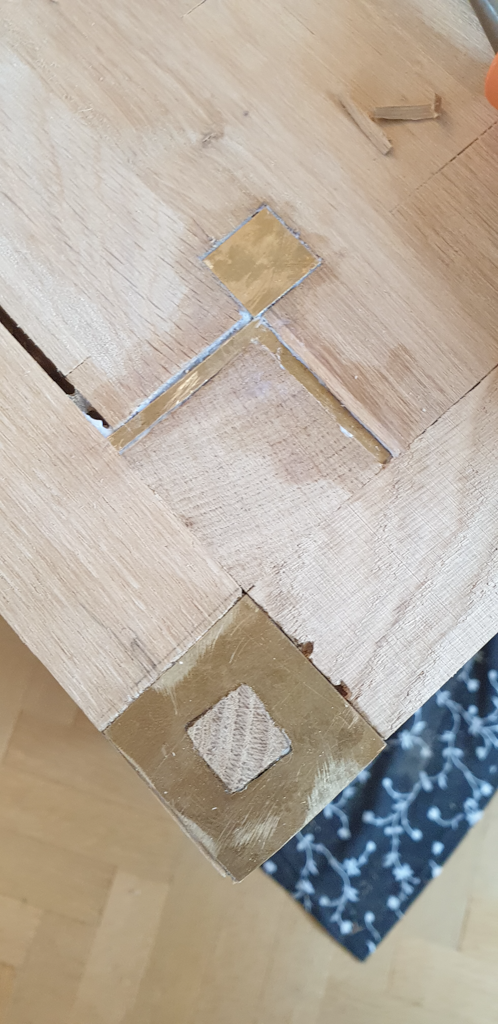
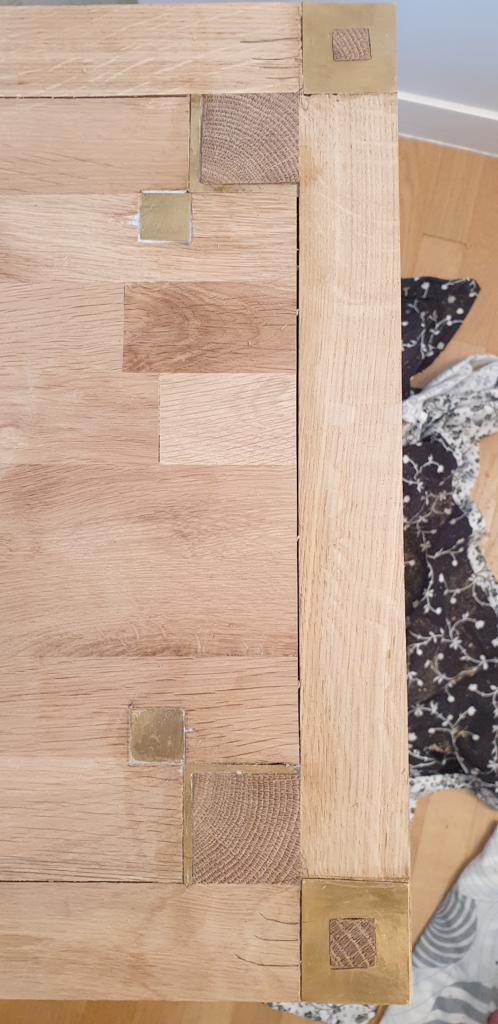
Now the main structure of the furniture is finished, but there’s still one more step: the finishing touches. Since I love the combination of wood and metal, I decided to experiment with adding some brass inlays to the top of the piece.

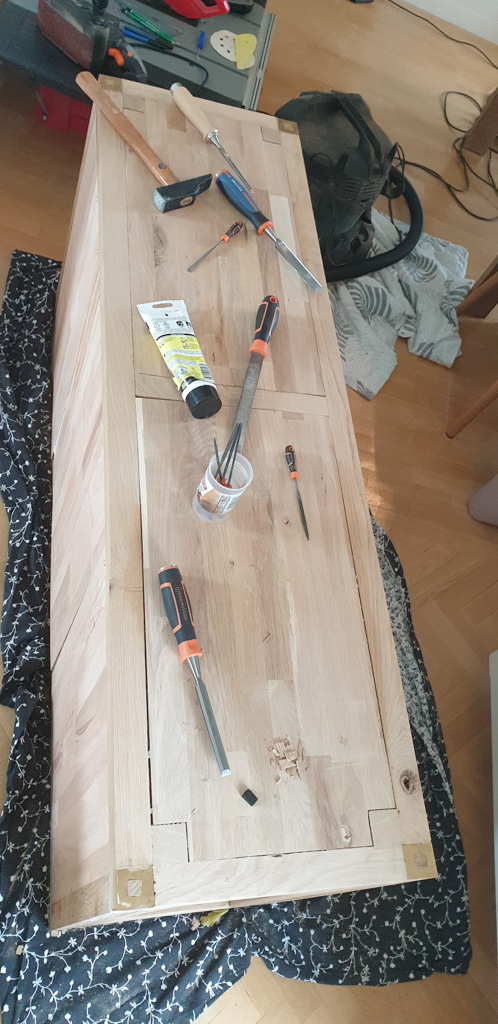

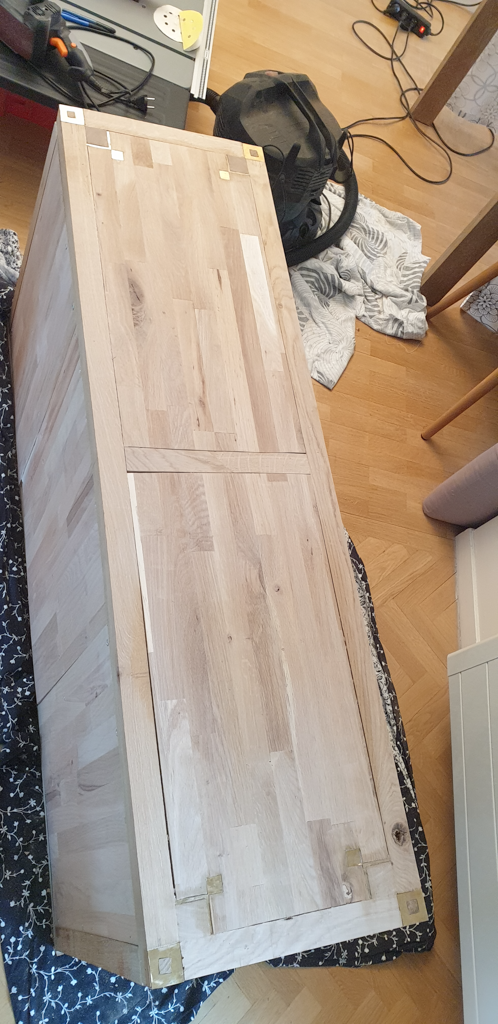
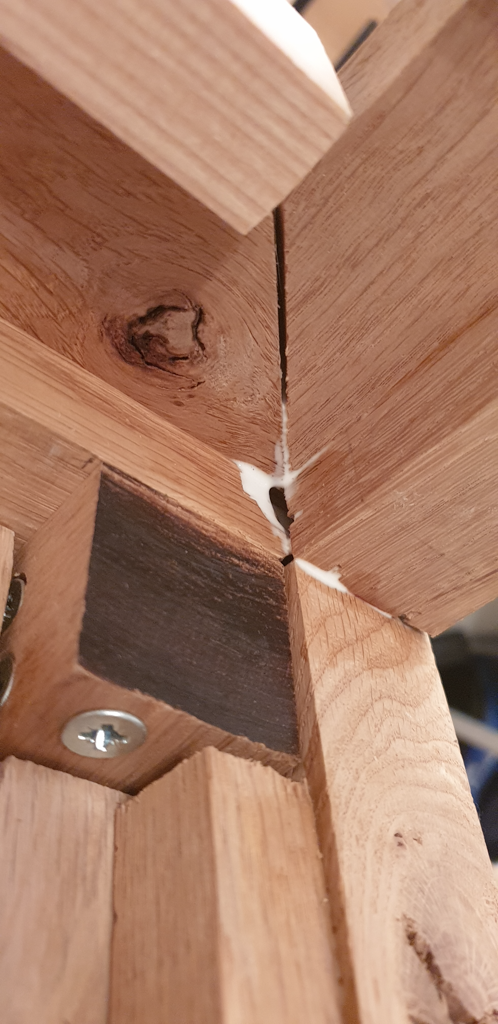
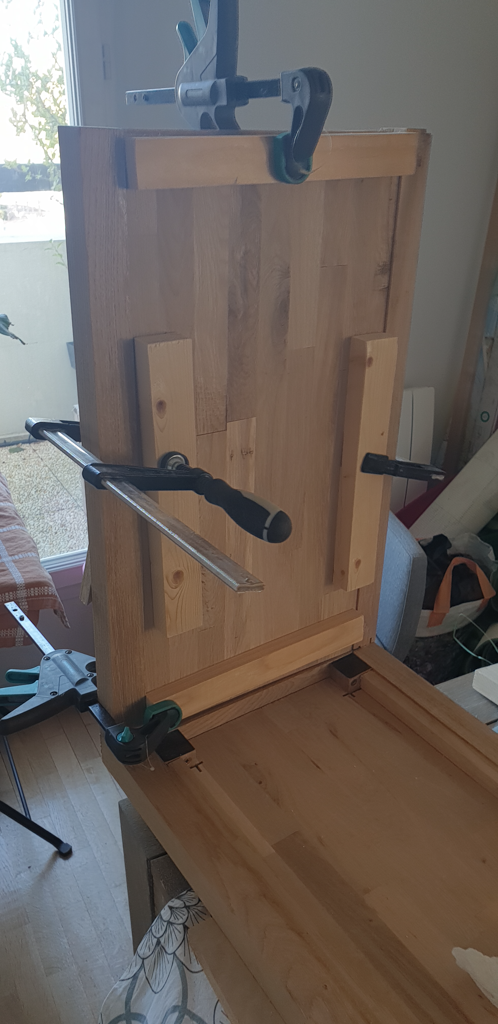
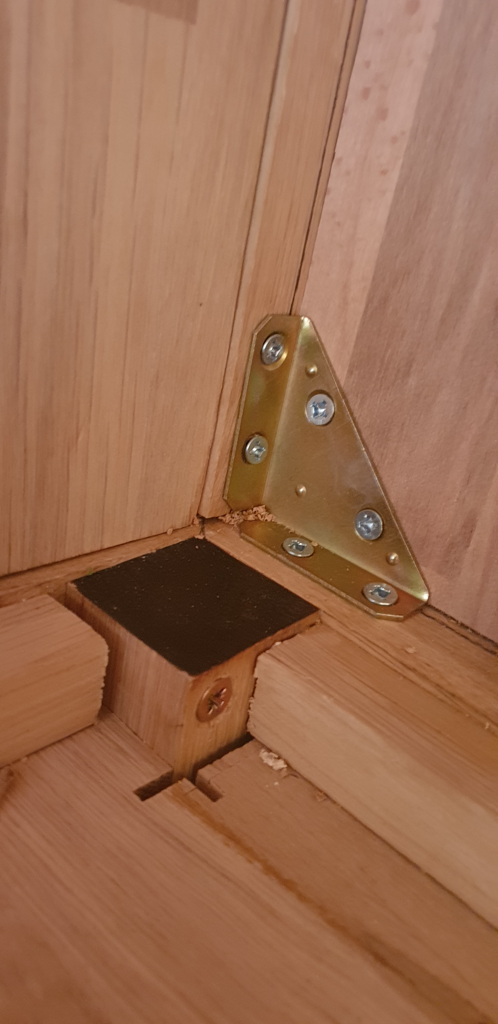
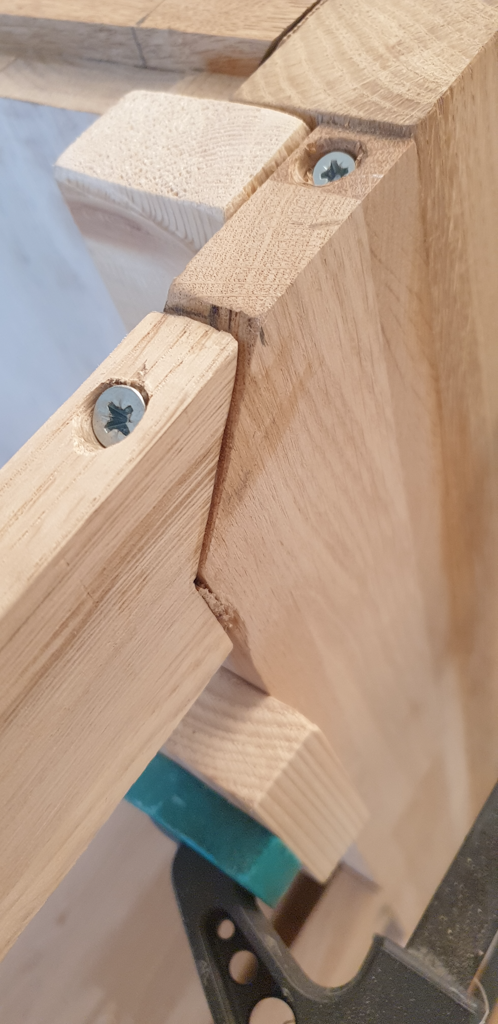
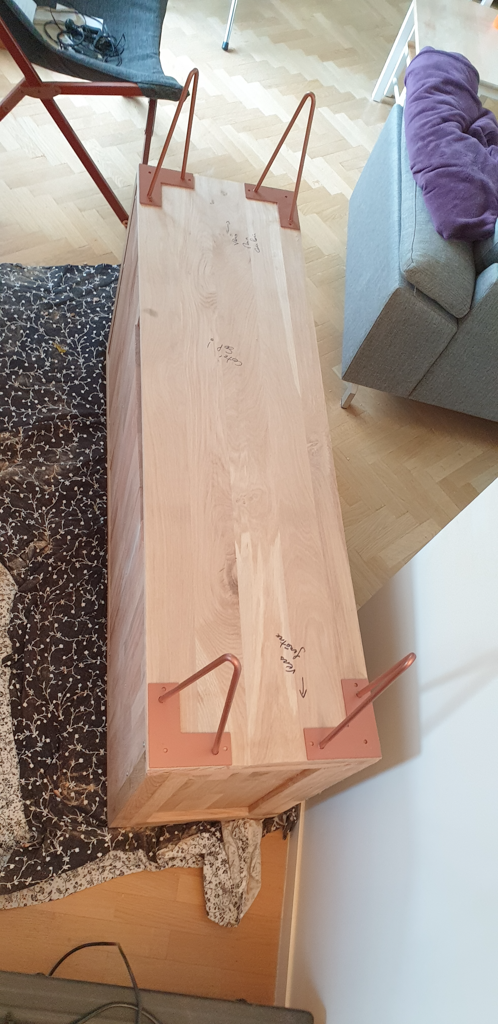
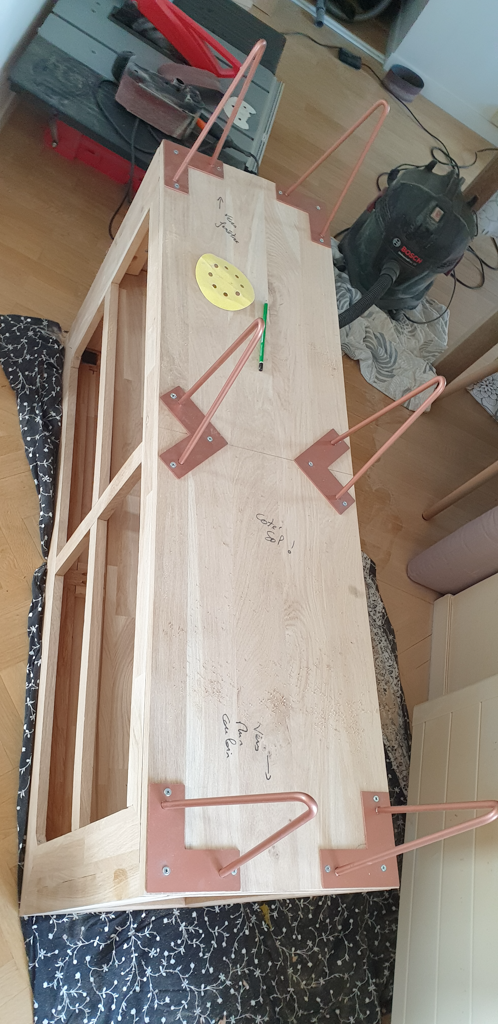
Another important step was adding the legs. Since this furniture needs to support a lot of weight, they had to be securely attached.
And now we are ready for a lot of sanding, and use the walnut stain + linseed oil to tint it a little bit and protect the wood.


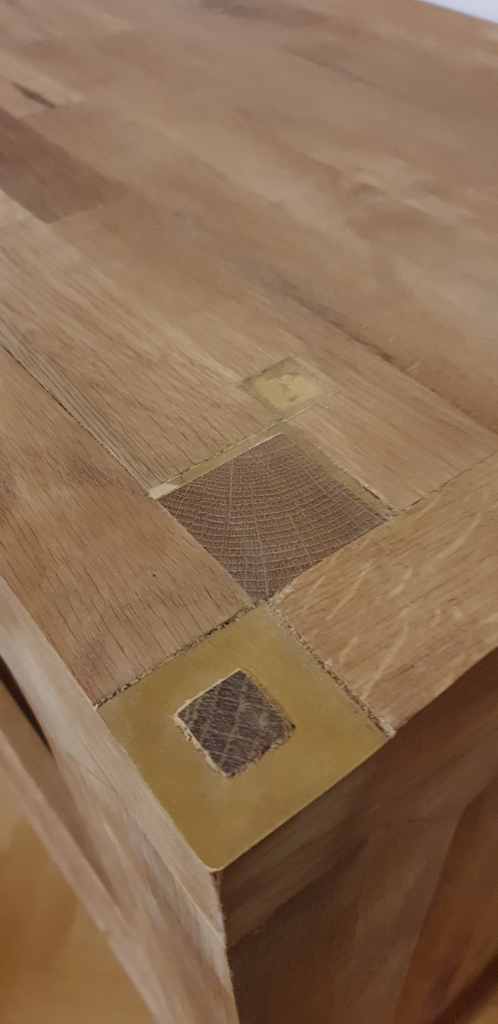
After even more sanding, the furniture was finally ready. I still need to polish the brass, but the finished piece can be seen at the start of this article. This project really boosted my confidence in my ability to develop new skills and to make my own furniture—even though it took several days and plenty of mistakes. It just goes to show that any difficulty in life can be turned into an opportunity.
Wrap-up & Related Reads
Building this piece gave me confidence to try more challenging woodworking projects, and reminded me that hands-on skills are as valuable as digital ones. If you enjoyed this read, you might like:
- Setting Up My Smart Garden with Jeedom – How I automated outdoor watering with DIY sensors and home automation.
Want to get started with woodworking? Check out:
And remember, even if you feel out of your comfort zone, learning by doing is always worth the effort!
— Arnauld